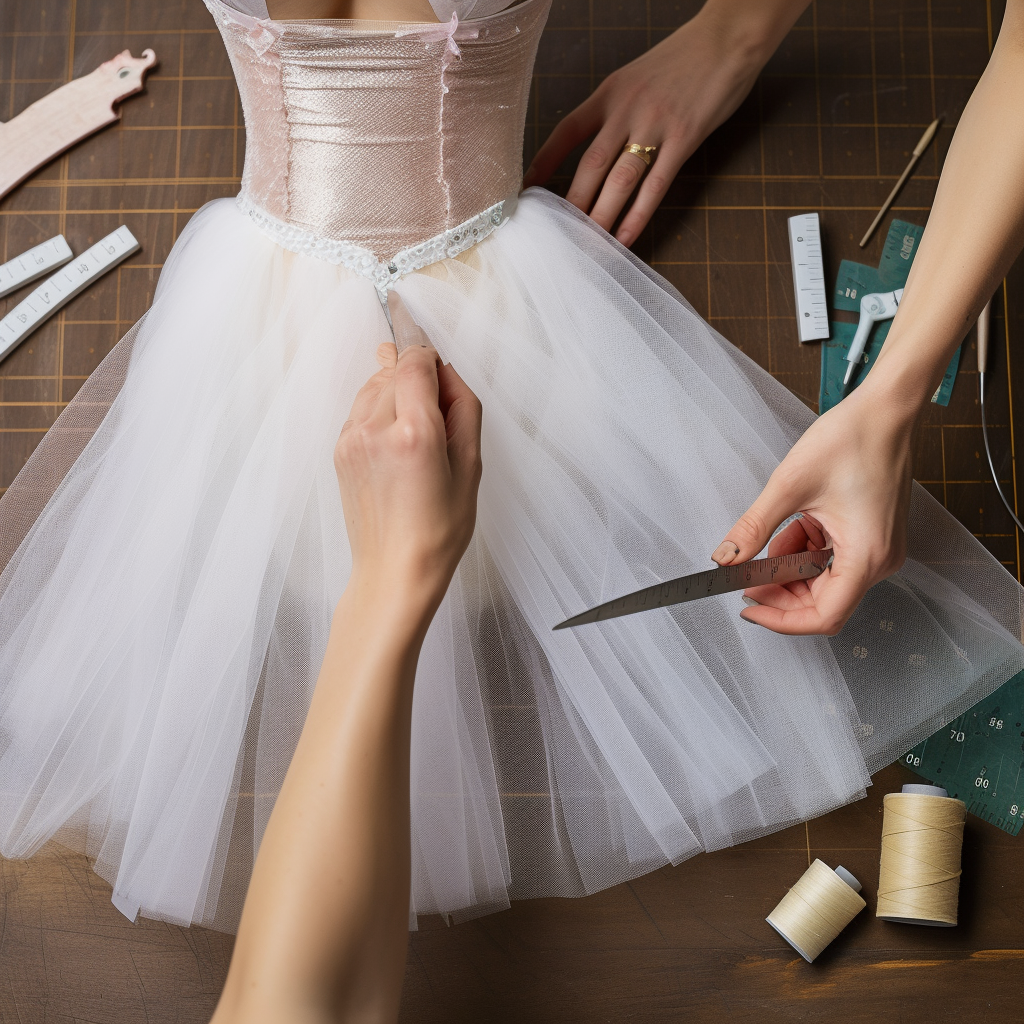
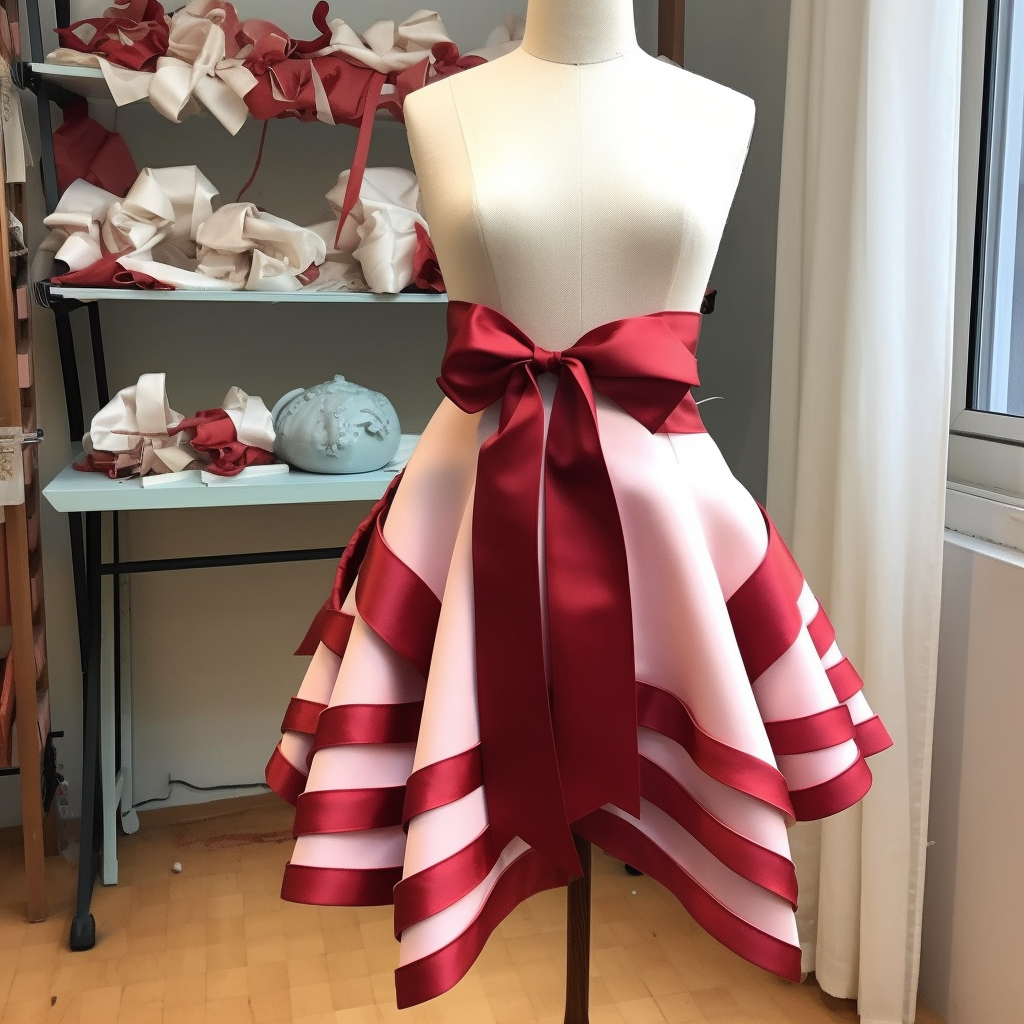
Sewing a ribbon skirt pattern is easy with this step-by-step guide. Gather your materials, cut the pattern, sew the pieces together, add the ribbon, and hem. Customize to your liking and enjoy your new skirt.
- Fabric (2-3 yards, depending on the length and fullness you want)
- Ribbon (2-3 yards, depending on the number of panels and width of the ribbon)
- Matching thread
- Sewing machine or needle and thread
- Scissors
- Measuring tape
If you’re looking for a fun and stylish project to sew, a ribbon skirt is a great option. Not only is it easy to make, but it also allows you to use your favorite ribbons and fabrics to create a custom look. In this step-by-step guide, we’ll show you how to sew a ribbon skirt pattern.

Choose a fabric that drapes well, such as rayon, cotton, or a blend. You can use a solid color or a print, depending on your preference. Select ribbon that complements your fabric and is wide enough to make an impact. You can use a single ribbon or mix and match different ribbons for a fun effect.
Pre-wash your fabric and ribbon before cutting and sewing to prevent shrinkage and ensure the colors won’t bleed.
Measure your waist and add a few inches to allow for ease and a waistband. Measure the length of the skirt from your waist to your desired hemline. Determine the number of panels needed by dividing your waist measurement by the width of your fabric. You can also vary the number of panels for a more or less full skirt.
Create a paper pattern by drawing a rectangle with the length of your skirt and the width of your fabric. Cut the rectangle in half lengthwise, creating two panels. Add or subtract panels as needed for a more or less full skirt.
Pin the pattern to your fabric and cut out the panels. Mark the edges of each panel with a pencil or tailor’s chalk for sewing.
Pin two panels together with the right sides facing each other. Sew along one side with a straight stitch, using a 1/2 inch seam allowance. Finish the seam with a zigzag stitch or serger. Press the seam open.
Add the next panel to the first two panels in the same manner, continuing until all panels are sewn together.
Measure and cut your waistband fabric, using your waist measurement plus a few extra inches for overlap and seam allowance. Fold the waistband in half lengthwise with the right sides facing each other, and sew the short ends together.
Pin the waistband to the top edge of the skirt, with the right sides facing each other. Sew along the top edge with a straight stitch, using a 1/2 inch seam allowance. Press the seam toward the waistband.
Fold the waistband over the top edge of the skirt, encasing the raw edge. Pin the waistband in place and sew along the folded edge, using a straight stitch. Leave a small opening for turning right side out.
Turn the waistband right side out and press the seam flat. Topstitch along the waistband, closing the opening.
Measure and cut your ribbon to the desired length, using the length of each panel plus a few extra inches for overlap and seam allowance. Pin the ribbon to the bottom edge of each panel, with the right side of the ribbon facing the right side of the fabric.
Sew the ribbon to the fabric with a straight stitch, using a 1/4 inch seam allowance. Press the seam toward the ribbon.
Repeat this step for each panel until all ribbon is sewn in place.
Measure and cut the hem of the skirt to your desired length. Fold the hem up 1/4 inch with the wrong side facing up. Fold the hem up another 1/4 inch and pin in place.
Sew the hem with a straight stitch or a blind hem stitch, using matching thread.

Conclusion
Congratulations, you’ve sewn your own ribbon skirt pattern! This project is perfect for beginners and can be customized in so many ways. Try using different fabrics or ribbons, or even adding pockets or a lining.
Remember to have fun and enjoy the process of making something by hand. With a little creativity and some basic sewing skills, you can create a beautiful and unique skirt that’s perfect for any occasion.
FAQs
Can I use a different type of ribbon for the trim?
Yes, you can use any type of ribbon you like for the trim.
Can I add pockets to the skirt?
Yes, you can add pockets to the skirt by including them in the panel seams.
How do I care for my ribbon skirt?
You can hand-wash your skirt in cold water and hang it to dry. Avoid using a dryer, as the ribbon can get damaged.
Can I add a lining to the skirt?
Yes, you can add a lining to the skirt for more coverage or warmth. Simply cut and sew a lining using the same pattern as the outer skirt.
Can I make a maxi length skirt using this pattern?
Yes, you can make a maxi length skirt by measuring the desired length and cutting the panels accordingly.
